|
Use a seta para acompanhar o
tutorial.

|
Roteiro:
1. Abra uma nova imagem transparente 800 x
700 px.
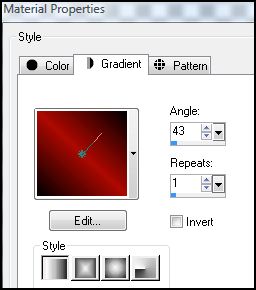
Configure na paleta de materiais:
Foreground: #000000
Backgound: #ad0a02
Forme um gradiente Linear:
Flood fill (baldinho) na imagem
Effects - Plugins - Crescent Moon -
SpookyFade:
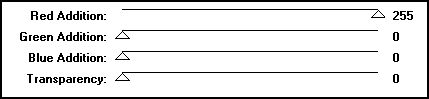
Edge Effects - Enhace
User Defined Filter: Emboss_3
Duplicate 2 vezes essa layer, para obter 3
layers iguais e renomeie para:
fundo1, fundo2 e fundo3
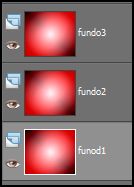
Ative a layer superior fundo3.
2. New Raster Layer
Mude a configuração do gradiente linear:
Angle: 0 - Repeat: 1 - Invert marcado.
Flood fill na imagem
Abra a mask "sg_shooting-stars" - Minimize
New Mask Layer - From Image:
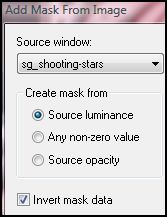
Layer - Merged group
Edge Effects - Enhace
User Defined Filter: Emboss_5
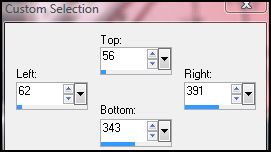
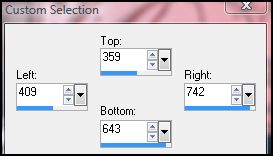
3. Ative a ferramenta Selection Rectangle
- Custom selection
 :
:
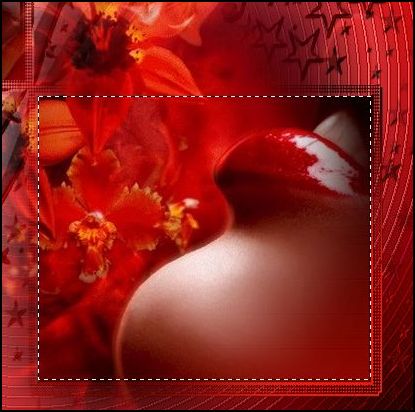
Abra o tube "1Patries_MN100..." - Copy
Paste as new layer e posicione como mostra
no exemplo:
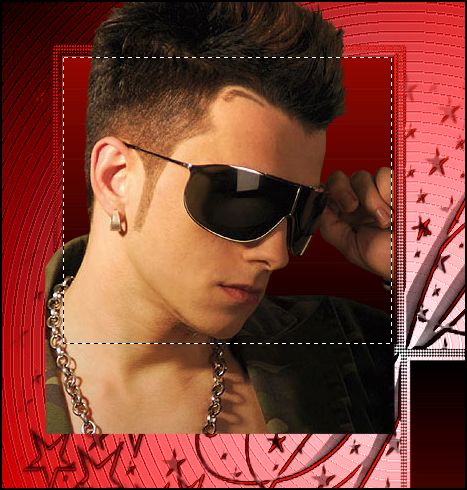
Selection - Invert e aperte a tecla DEL no
teclado
Select none
Mude o blend mode para Luminance (L)
Shadow à seu gosto.
4. Ative novamente a ferramenta Selections
Rectangle - Custom selection:
Abra o tube "lips_7_mai09_artemis" - Copy
Paste as new layer e posicione como mostra
no exemplo:
Selections - Invert e aperte a tecla DEL
no teclado
Select none
Mude o blend mode para Soft Light.
5. Abra o tube "884224111" - Copy
Paste as new layer
Resize em 130% com all layers desmarcado
Sharpen
Posicione na parte inferior da imagem
(veja tag final).
Shadow à seu gosto.
6. Abra o tube do label "just pearly" -
Copy
Paste as new layer
Resize em 50% com all layers desmarcado
Sharpen
Adjust - Hue and Saturation - Colorize:
Hue: 1 - Saturation: 250
Posicione no canto direito superior (veja
tag final)
Shadow à seu gosto.
7. Abra o Wordart "bld-wordart"
Já está selecionado o wordart que iremos
usar - Copy
Paste as new layer
Resize em 115% com all layers desmarcado
Sharpen
Posicione dentro da etiqueta
Colorize na mesma configuração anterior
User defined filter: Emboss_3
Shadow à seu gosto.
Adicione sua assinatura ou marca d'água.
8. Selections - Select all - Modify -
Contract: 15 - Invert
New raster layer
Na paleta de materiais inverta as cores do
foreground e background
Flood fill na seleção.
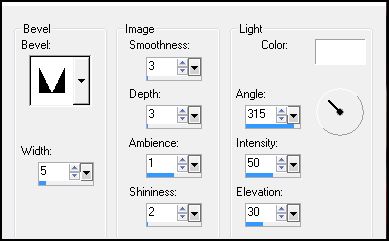
3D Effects - Inner Bevel:
Select none.
9. Vamos fazer a animação:
Ative a layer fundo1
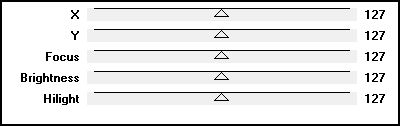
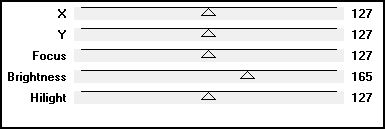
Effects - Plugins - Unplugged Tools -
Spotlight:
Ative a layer fundo2 e repita o mesmo
efeito anterior:

Ative a layer fundo3 e novamente aplique o
mesmo efeito anterior:
Feche a visibilidade das layers fundo2 e
fundo3
Ative a layer fundo1 - Copy merged
Abra o Animation Shop - Paste as new
animation
Volte ao PSP
Feche a visibilidade da layer fundo1 e
abra da layer fundo2
Ative a layer fundo2 - Copy merged
Abra o Animation Shop - Paste after
current frame
Volte ao PSP
Feche a visibilidade da layer fundo2 e
abra da layer fundo3
Ative a layer fundo3 - Copy merged
Abra o Animation Shop - Paste after
current frame
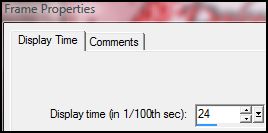
Edit - Select all
Animation - Frame Properties:
View - Animation
Se já estiver satisfeito, salve como GIF.
E está pronto!!!

MENU
MEUS TUTORIAIS
Design by Jana Saucedo®
Copyright© 2009 by Jana Saucedo
Todos os direitos reservados.